In a nutshell
- 🧴 Handles act as an invisible conveyor belt for grease transfer; a quick pre-cook wipe breaks the cycle and curbs cross-contamination.
- 📍 Identify high-touch points—fridge doors, hob knobs, tap levers, bin lids—where stainless steel, painted wood, and textured plastics trap oil, heat, and steam into stubborn grime.
- ⏱️ Follow a five-minute routine: wash hands, detergent-first microfibre pass, detail seams, rinse, dry, and apply targeted sanitising with contact time for risk spots.
- 🧰 Choose tools wisely: microfibre + washing-up liquid for removal, cautious use of disinfectant wipes, diluted bleach where suitable, and selective degreasers—stronger isn’t always better.
- 🔬 Mini case study: Post-routine, ATP readings shifted to lower residue levels and UV smears faded, showing that removing the grease film improves hygiene and cuts weekend scrubbing.
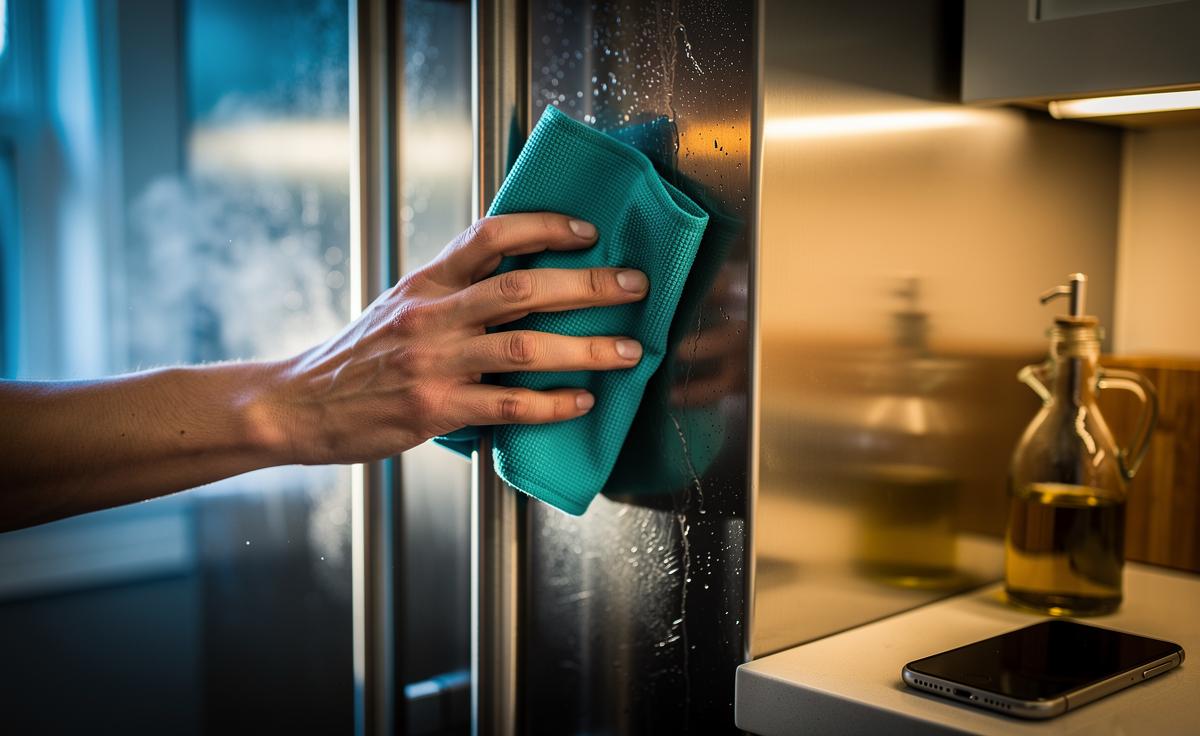
Before you dice an onion or reach for the olive oil, pause and look at your kitchen’s handles and knobs. These are the stagehands of every meal, yet they carry a quiet burden: an invisible film of grease and seasoning residue that hops from hand to surface and back again. In busy homes, we routinely move from delivery bags, phones, and recycling to fridge doors and hob controls without a second thought. The result is a slow, sticky build-up that nurtures grime and amplifies cross-contamination risks before a single pan is warmed. Wiping handles before cooking isn’t fussy—it’s the simplest insurance policy for flavour, food safety, and the life of your appliances.
The Invisible Conveyor Belt: How Grease Travels From Hands to Handles
Grease is a stubborn traveller. It clings to skin, spreads with every grip, and forms a thin, persistent lipid film on handles and buttons. Picture the choreography: you unload shopping, answer a message, nudge the fridge open, adjust the extractor, flip the oven on, then wash your hands. The very next handle you touch often recontaminates those just-washed hands. Studies on household hygiene consistently show that high-touch points accumulate residues that let microbes hang around longer than we realise—especially when combined with flour dust, sugar crystals, or aerosolised oil from frying. While exact survival times vary by species and humidity, the principle is simple: grease + particles = tenacious grime.
There’s also a sensory blind spot. Once a surface looks “shiny”, we assume clean. Yet shine can mask the smear layer that traps odours and fuels dullness over time. Each meal adds a pass of seasoning—paprika, stock splashes, butter—until knobs feel tacky and oven bars collect that grey, waxy patina. Handles become the kitchen’s unnoticed conveyor belt, moving flavours and fingerprints where they don’t belong. Breaking the belt early—before cooking—stops transfer in its tracks and keeps later deep cleans from turning into day-long slogs.
High-Touch Culprits and Materials That Harbour Grime
Not all handles behave the same. Stainless steel resists corrosion but proudly displays streaks; painted wood hides soil in micro-cracks; textured plastics catch oils in their pores. Add heat from ovens and steam from kettles and you’ve made a gentle “glue” for airborne fat droplets. It’s the combination of frequent fingers, heat, and microscopic texture that builds the stubborn layer you notice only when it squeaks under a cloth. Prioritise the true hotspots before you cook: fridge and freezer doors, cupboard pulls by the hob, oven and microwave handles, tap levers, bin lids or pedals, and appliance buttons.
| Surface | Touch Frequency | Grease Retention | Best Quick Clean |
|---|---|---|---|
| Stainless fridge handle | Very high | Shows streaks, smears | Microfibre + warm washing-up liquid; finish dry |
| Painted cupboard knob | High near hob | Seams trap oil | Soft cloth; avoid abrasives; mild detergent |
| Plastic oven controls | High during cooking | Textured pores hold grime | Damp cloth + detergent; cotton bud in grooves |
| Tap lever | Very high | Water spots + oils | Detergent wipe; rinse; buff to dry |
| Bin lid/pedal | High pre-cook | Mixed soils | Disinfectant wipe; allow contact time |
Tip: The best time to wipe is pre-heat—before warm air bakes smears into place. A 20–30 second pass per zone keeps the film from hardening, reduces odours, and makes weekly cleaning dramatically faster.
A Five-Minute Pre-Cooking Wipe Routine That Actually Works
Think of this as mise en place for hygiene. A tiny routine before the frying pan hits the hob pays off all week. Keep a small caddy by the kitchen: a microfibre cloth, a second cloth for drying, washing-up liquid, a few disinfectant wipes, cotton buds, and a spray bottle of warm water with a drop of detergent. The goal is to remove grease first, then, where useful, sanitise. Disinfectants don’t work well on dirty films; they need a clean surface and proper contact time.
- Wash and dry hands. Start clean; otherwise you’re pushing oil around.
- Detergent pass. Lightly dampen microfibre, add a dot of washing-up liquid, and wipe fridge handle, hob knobs, oven bar, tap, and bin touchpoints.
- Detail edges. Use a cotton bud on button creases and handle seams.
- Rinse wipe. Quick pass with plain warm water to lift soap residue.
- Dry and buff. Use a separate cloth or kitchen roll to prevent streaks.
- Targeted sanitise (optional). For bin lids or after handling raw meat packaging, apply a disinfectant wipe and respect the label’s contact time.
In practice, this takes under five minutes in most kitchens, and it stops the day’s grease from establishing itself. Small, consistent effort outperforms heroic weekend scrubs.
Pros and Cons of Popular Cleaning Options
Choosing the right tool prevents smearing and protects finishes. Why “stronger” isn’t always better: aggressive products can cloud plastics or dull paint, while fragrance-forward sprays can mask, not remove, the grease film. Removal first, disinfection second is the principle that keeps handles genuinely clean and your appliances looking new.
- Microfibre + washing-up liquid: Pros—excellent at breaking down oil, surface-safe, cheap. Cons—requires rinse and dry; cloths need regular hot washes.
- Disinfectant wipes: Pros—fast on bins and high-risk spots. Cons—poor on heavy grease; needs full contact time; can leave tackiness if not dried.
- Diluted bleach (sodium hypochlorite): Pros—effective sanitiser on hard, non-porous surfaces. Cons—can stain textiles, corrode metals if overused; never for wood. Follow label dilution. Never mix bleach with ammonia or acids.
- White vinegar: Pros—good on limescale and some smears. Cons—not a broad disinfectant; struggles with heavy oils; avoid on stone.
- Degreasers: Pros—cut through baked-on films. Cons—may strip finishes; patch-test first; ventilate.
Whatever you pick, finish with a dry cloth to prevent streaks and re-soiling. On stainless steel, wipe with the grain; on painted wood, keep moisture minimal to protect joints.
A Mini Case Study: What Swabs From a Family Kitchen Revealed
In a South London semi, I ran a week-long test across five handles: fridge, tap, oven bar, bin lid, and a cupboard pull by the hob. Day one began like many Mondays—tackiness on the oven bar, faint spice scent on the fridge. Using an inexpensive ATP hygiene meter (a proxy for organic residues), baseline readings skewed “elevated” on the bin and fridge. After adopting the five-minute pre-cook routine, readings consistently shifted into the device’s “low” band by midweek. Under a small UV torch, smears on the oven handle that previously fluoresced dulled notably after detergent-first wipes and a proper dry.
This wasn’t a laboratory trial, and ATP isn’t a microbial census, but the pattern was clear: removing the grease film first led to quieter handles—no squeak, no tack—alongside lower residue signals. The family reported fewer smudges and faster Saturday cleans. Most tellingly, the “phone-to-fridge” dance changed; a short wipe became as habitual as setting out the chopping board. That behavioural nudge kept transfer in check before the first sizzle of oil hit the pan.
Wiping kitchen handles before cooking isn’t a fussy flourish; it’s the fast break that stops grime from ever finding its feet. A few passes with microfibre and mild detergent remove the film that feeds odours, dulls finishes, and ferries microbes around the room. Add targeted sanitising for bins and post-meat packaging, and you’ve built a resilient routine that protects flavour and kit alike. The clean you do first is the clean that matters most. What change would make it easiest for you to add a five-minute handle wipe—placing a caddy by the hob, a reminder on the fridge, or a shared family checklist on the wall?
Did you like it?4.4/5 (20)