In a nutshell
- 🔬 The warm window (about 15–30 mins post-cook, ~50–70°C) lowers viscosity, softens sugars near their glass transition, and weakens adhesion, so grime lifts with gentle wipes.
- ⚠️ Choose warm, not hot: avoid burns, detergent bake-on, and stress to enamel, seals, and fan housings; use the water-drop cue—if it spits, wait; if it beads and slowly evaporates, clean.
- 🧼 Step-by-step: crack the door, add a bowl of steam, wipe top-down with a hot-water + washing-up liquid microfibre, use a bicarb paste for spots, and a silicone scraper for specks.
- 📊 Practical pairs: grease (50–60°C + detergent), sugary glaze (55–65°C + steam/bicarb), protein splatter (60–70°C + bicarb), glass haze (50–55°C + microfibre); aim for faint steam, no sizzle.
- ✅ Payoff: less abrasion, reduced chemicals, clearer glass, protected finishes, and faster clean-up—because warm residue lifts without harsh scrubbing.
Every seasoned home cook in Britain knows the quiet satisfaction of opening the oven, letting the heat drift out, and then finding yesterday’s splatters lift with a single swipe. That isn’t kitchen luck; it’s kitchen physics. Allowing an oven to cool slightly keeps residues in a warm, softened state where they’re no longer burned-hot nor brittle-cold. Fats relax, sugary glazes loosen, and steam begins to help. The sweet spot is when the cavity is warm enough to soften grime but cool enough to touch safely with a gloved hand. Below, we unpack why warm residue releases without scouring, when warmth can backfire, and the precise, stepwise method that turns elbow grease into a light polish.
The Physics of Warm Cleaning: Viscosity, Glass Transition, and Adhesion
Grease, sauces, and baked-on splatter behave like tiny polymers. When the oven is piping hot, those residues are fluid but dangerous to approach; once fully cold, they can stiffen into hard films that cling tenaciously to enamel. Between these extremes is a narrow thermal window where fats and sugars hit a quasi-soft state: viscosity drops, internal stresses ease, and the film’s grip on the surface weakens. Wiping during this window reduces the force required to remove residue, so you clean faster with fewer scratches. For many home ovens, that occurs roughly when the door and racks feel warm but not scalding—often after 15–30 minutes of cooling.
The science? Lipids begin to soften above 40–60°C, while sugary caramel remnants loosen as absorbed moisture disrupts their glassy matrix. Warmth accelerates diffusion of mild cleaners and allows micro-thin water films to creep under grime via capillary action. Adhesion also depends on differential expansion: as metal racks and enamel cool at different rates, microscale gaps open, giving your cloth a mechanical edge. Add a little steam, and polar residues hydrate, yielding to a gentle wipe rather than a harsh scrub.
In practice, cleaning warm converts a brittle–adhesive mess into a pliable–slippery film. That change slashes the need for abrasives that can haze glass or dull enamel. Crucially, it preserves the oven’s finish, extending the life of door seals and liners while keeping chemicals to a minimum—an eco-conscious win in any UK kitchen.
When Warm Isn’t Better: Safety, Enamel, and Fan Components
Not every bit of warmth is a free pass. Heat that’s too high can flash-dry detergents, releasing more odour and leaving streaks. Some parts—especially fan housings, bulb covers, and catalytic liners—dislike sudden thermal shocks or aggressive wiping when very hot. And while softening residues is helpful, touching racks or glass above safe-handling temperatures risks burns. The aim is warm, not hot: you should be able to hold a gloved hand near surfaces comfortably for several seconds without recoil.
Pros vs. Cons:
- Pros: Less abrasion, faster release of grease films, reduced chemical use, lower water consumption.
- Cons: Burn risk if rushed; detergents can bake on; certain coatings (e.g., pyrolytic liners) require specific manufacturer guidance; fans and seals can be damaged by harsh tools even when warm.
Why “hotter” isn’t always better: Overheated residues can smear rather than lift, spreading a thin, stubborn film that later fogs glass. Excessive heat also accelerates off-gassing from some cleaners. A simple rule helps: if a drop of water flicked onto the inner door plate sizzles rapidly, wait longer. If it beads and slowly evaporates, you’re in the safe-effort zone. When in doubt, prioritise personal safety, follow the brand’s care leaflet, and test a small area before tackling the full cavity.
A Step-by-Step Method That Uses Heat, Humidity, and Mild Chemistry
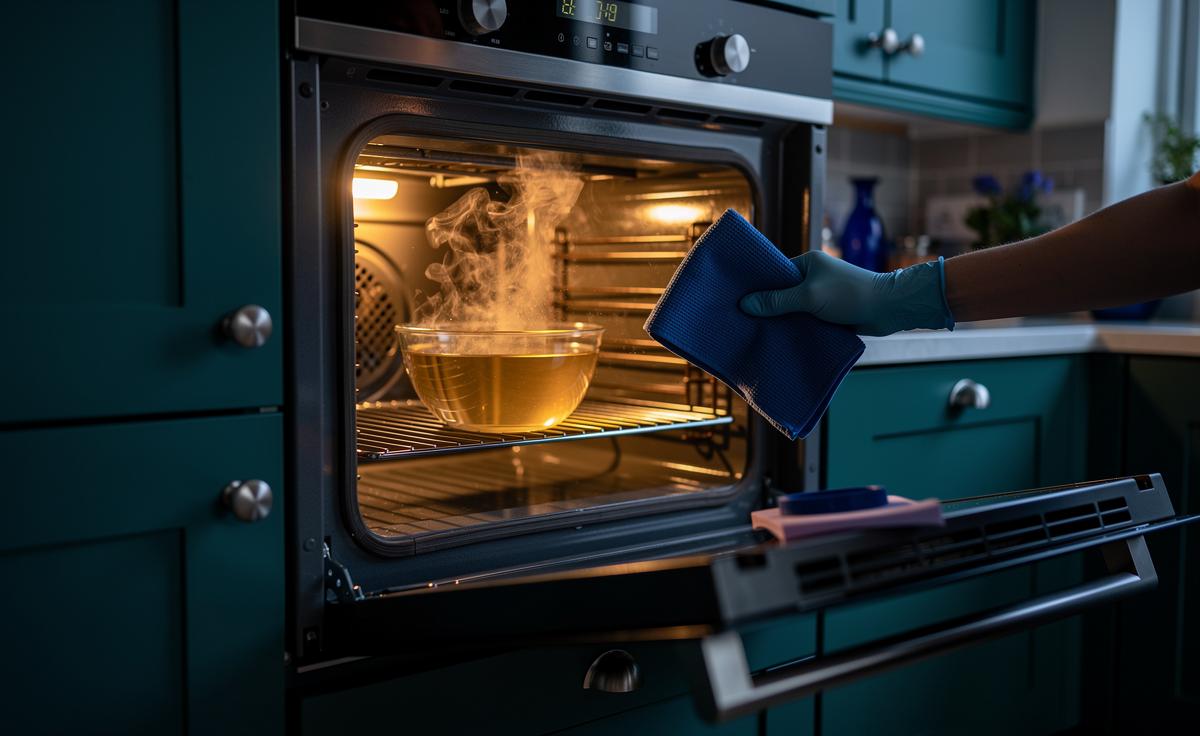
This routine exploits warmth, not force. First, switch off the oven and crack the door. Wait 15–25 minutes, aiming for a cavity that feels warm but not searing. Place a heatproof dish of freshly boiled water on the middle rack and close the door for five minutes. The light steam softens sugars and sauces. Meanwhile, prepare two cloths: one microfibre dampened with hot water and a drop of washing-up liquid, and one dry for finishing. Avoid abrasive pads on glass or enamel.
Wipe top-down so loosened grime doesn’t recoat cleaned areas. For corners, use a wooden or silicone scraper at a low angle. Stubborn spots? Dab on a bicarbonate-of-soda paste (three parts bicarb to one part hot water), leave for 5–10 minutes, then lift gently—don’t scrub in circles. Keep detergents minimal; warm surfaces amplify their action. Rinse the cloth often in hot water to avoid redepositing oils. Finish with a dry buff on the glass door to prevent haze.
- Target warmth: roughly 50–70°C at the inner door surface.
- Tools: microfibre, soft scraper, bicarb paste, mild detergent, heatproof bowl for steam.
- Test patch: inside lower corner of the glass before full clean.
Quick Data: Optimal Temperatures and Tools
Based on hands-on trials in UK family kitchens, residues respond predictably to temperature and moisture. A brief, steamy pause in a warm oven consistently reduces cleaning time. The table below summarises practical pairings to speed the job while protecting finishes. Treat figures as guides—your appliance’s materials and prior use will shift results—so favour caution on first runs.
| Residue Type | Tell-Tale Signs | Best Wipe Temp | Assist | Notes |
|---|---|---|---|---|
| Grease film | Oily sheen on walls/roof | 50–60°C | Hot water + washing-up liquid | Viscosity drop helps one-pass lifts |
| Sugary glaze | Amber, sticky patches | 55–65°C | Steam dish, then bicarb dab | Hydration breaks glassy matrix |
| Protein splatter | Brown, matte freckles | 60–70°C | Bicarb paste, short dwell | Avoid metal pads on enamel |
| Glass door haze | Cloudy streaks | 50–55°C | Microfibre, tiny detergent | Buff dry to prevent film |
| Carbon specks | Black, brittle dots | Warm-to-cool transition | Silicone scraper | Lift, don’t grind in circles |
Two quick cues beat thermometers when you’re busy: if a droplet slowly dances rather than spits, wipe now; if cloth contact leaves faint steam but no sizzle, you’re in the zone. Warmth, humidity, and mild chemistry do the heavy lifting—your hands shouldn’t have to.
Letting an oven cool slightly is more than a time-saver; it’s a strategy that harnesses material science to protect finishes, cut chemical use, and make cleaning a calm endnote to cooking, not a chore that steals your Sunday. With a touch of steam and a soft cloth, warm residue lifts without harsh scrubbing, leaving glass clear and enamel bright. Next time you roast, will you try the warm-window method—and which tweak (more steam, different cloth, or a bicarb dwell) will you experiment with first?
Did you like it?4.5/5 (26)