In a nutshell
- 🧪 How it works: 5% acetic acid in white vinegar dissolves calcium carbonate limescale, with warm solution and proper dwell time boosting results without abrasion.
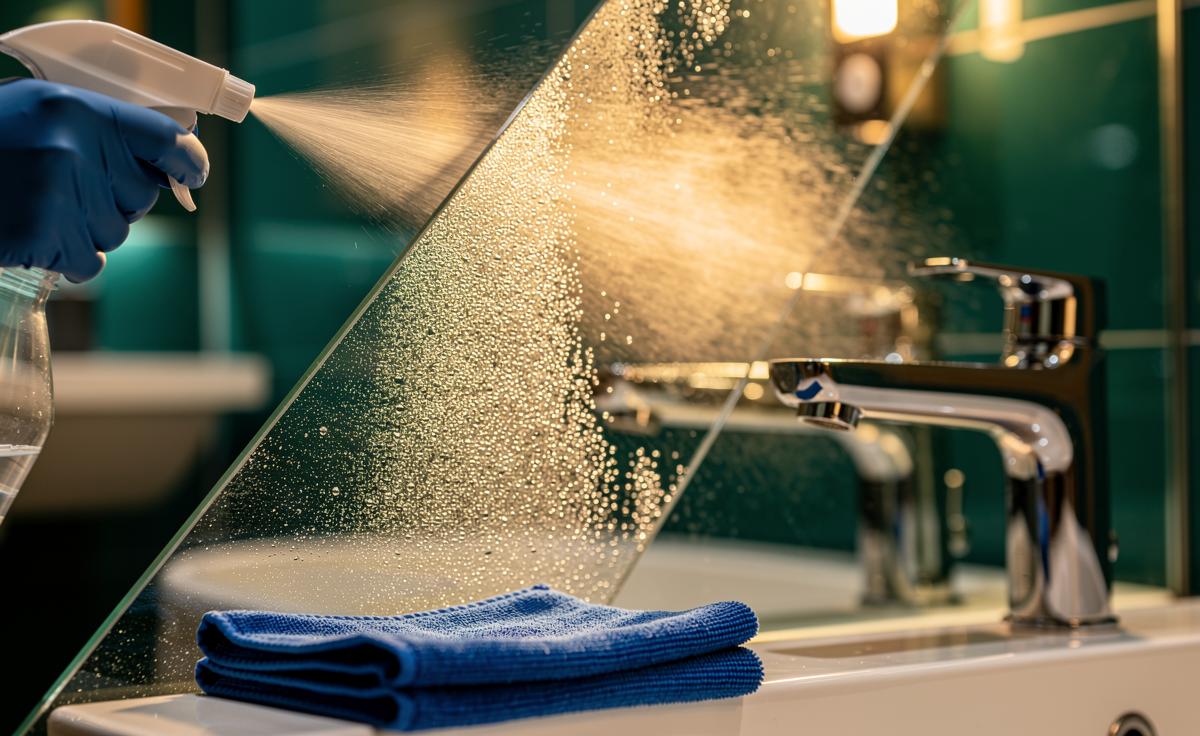
- ⚙️ Pro ratios and method: Use 1:1 vinegar:water for shower glass, neat compresses for taps/shower heads, apply to a dry surface, re‑mist to keep wet, then rinse and buff with microfibre.
- ⚠️ Safety first: Never mix vinegar with bleach; avoid prolonged contact on delicate finishes; patch test chrome/brushed metals; ventilate and wear gloves.
- 🚫 Surfaces to avoid: Do not use on natural stone (marble, limestone, travertine), unsealed grout, or certain metals/rubber seals—acid can etch or degrade finishes.
- 🧰 Real‑world results & prevention: A Greenwich flat cleared heavy haze with two mild cycles; label bottles, use HDPE sprayers, and squeegee after showers to prevent build‑up and cut cleaning time.
Across the UK’s hard‑water belt, from Kent to the Cotswolds, limescale is the stubborn residue that fogs shower glass, crusts taps, and steals efficiency from kettles. Professionals increasingly reach for a simple hero: a vinegar spray that dissolves mineral deposits without harsh fumes or scratched finishes. I’ve shadowed hotel housekeepers in London and installers on new‑build snagging jobs, and the pattern is consistent: when chemistry and technique align, vinegar is both gentle and devastatingly effective. The trick isn’t brute strength; it’s the right dilution, contact time, and a method that protects the surface. Below, I unpack how experts blend science with workflow—plus the pitfalls that turn a quick refresh into a costly repair.
How Vinegar Melts Limescale — The Science in Your Spray
At the heart of this method is acetic acid, the active component in white distilled vinegar. Standard household white vinegar sits around 5% acetic acid, which is strong enough to dissolve calcium carbonate—limescale’s primary component—by forming soluble calcium acetate and releasing carbon dioxide. That fizz you sometimes see isn’t magic; it’s chemistry at work. In the UK, where more than half of households live with hard or very hard water, deposits build fast on shower screens, tiles, and chrome fixtures. The vinegar spray’s advantage is selectivity: it attacks mineral build-up while sparing most modern finishes when used correctly. Professionals value this control because it eliminates the need for aggressive scouring or industrial acids that can etch glass or dull metal. To amplify effect, they start on a dry surface—water dilutes the acid prematurely—and use a fine mist to coat evenly. Coverage and consistency beat sheer quantity every time. Think of it as targeted therapy rather than a drenching cleanse.
Temperature also matters. Warm vinegar (not hot) marginally boosts reaction speed without increasing risk to finishes, so some pros decant room‑temperature vinegar into a spray bottle stored in a warm utility cupboard rather than heating it directly. Dwell time—the period the spray stays in contact with the deposit—is the other lever. Light haze can lift in 3–5 minutes; thicker scale benefits from 10–15 minutes with a re‑mist to keep it wet. Let the chemistry work; don’t rush to scrub. A soft microfibre cloth or non‑scratch sponge completes the job with minimal pressure. Unlike calcium‑munching commercial gels, vinegar requires a little patience but rewards you with fewer surface risks and a fraction of the cost, particularly on daily maintenance cleans where deposits haven’t fully cured.
Expert Ratios, Dwell Times, and Safe Techniques
Professionals rarely spray vinegar neat across the board. They tailor the mix to the surface and the thickness of the scale. For routine bath and shower glass, a 1:1 blend of white vinegar and water is standard. For heavy crusts on taps or shower heads, neat vinegar can be used as a targeted compress: soak a cloth, wrap it around the fitting, and leave it for 10–15 minutes. Always start mild and escalate only if needed—this is how you protect finishes over the long haul. The sequence matters: apply spray to a dry surface, wait, re‑mist if edges dry, then loosen residue with a soft cloth, rinse thoroughly, and buff dry to prevent fresh spotting. If limescale persists, repeat rather than scrubbing harder.
Two safety rules are non‑negotiable. First, never mix vinegar with bleach or products containing chlorine; the reaction can release hazardous gases. Second, avoid prolonged contact with delicate finishes unless manufacturer guidance says it’s safe. Modern chrome usually tolerates vinegar well when exposure is controlled, but unlacquered brass and some bespoke finishes demand extreme caution. A quick patch test on an inconspicuous area is the professional’s insurance policy. Finally, ventilation and gloves keep the experience pleasant—the odour is sharp, and prolonged skin contact can be drying. If the smell lingers, a fast rinse and a drop of mild washing‑up liquid in the rinse water clear it quickly.
| Surface | Suggested Dilution | Typical Dwell Time | Pro Notes |
|---|---|---|---|
| Shower glass | 1:1 vinegar:water | 5–10 minutes | Keep wet; wipe with microfibre; rinse and buff dry |
| Chrome taps | 1:1 or neat on cloth | 3–10 minutes | Spot‑treat with soaked cloth wrap; avoid prolonged soaking at joints |
| Ceramic tiles | 1:2 vinegar:water | 5–10 minutes | Safe on most glazed ceramics; avoid soaking unsealed grout |
| Shower heads | Neat in a bag | 15–30 minutes | Remove and soak if possible; rinse thoroughly before use |
Surfaces You Should Avoid and Why Strength Isn’t Always Better
There’s a reason pros keep a separate bottle for stone-safe work: vinegar must never touch natural stone such as marble, limestone, and travertine. These surfaces are calcium‑based; acid can etch them within minutes, leaving dull blotches that require professional honing to repair. Likewise, vinegar is risky on aluminium, cast iron, and some lacquered or unlacquered metals (including living finishes like bare brass). It can also weaken rubber seals and degrade certain silicone beads if left to soak. Unsealed grout is another caution—brief exposure is often fine, but repeated acid contact can erode the binder over time. When in doubt, use a pH‑neutral cleaner and reserve the vinegar for glass, glazed tiles, and standard chrome.
Crucially, more acid isn’t more effective. Cleaning vinegar sold at 6–10% acetic acid may work faster, but it also increases the risk of etching and finish damage. Professionals prefer control over speed, approaching scale in stages: mild solution, adequate dwell, and gentle agitation. If you’re scrubbing hard, the chemistry hasn’t finished—reapply and wait. On delicate or designer fittings—brushed nickel, matte black PVD, antiqued brass—manufacturers often specify pH‑neutral care only. Ignore that at your peril. The pro mindset is preventative: use squeegees after showers, ventilate to reduce mineral spotting, and schedule a quick weekly vinegar pass so deposits never cure into concrete‑hard calcite that demands harsher tactics.
Real-World Results: A UK Case Study and Pro Tips
Last winter, I followed a maintenance team through a riverside flat in Greenwich plagued by heavy spotting on shower glass and a chalky crust on the hand‑held sprayer. Their kit: a labelled bottle of 1:1 white vinegar and water, microfibres, and a non‑scratch sponge. They misted the dry glass, set a timer for 8 minutes, then re‑misted edges that began to dry. With a single pass of the sponge and a rinse, most haze vanished; a second cycle took care of stubborn corners. There was no scraping, no sour odour hanging in the air, and—critically—no swirls or micro‑scratches. On the sprayer, they wrapped a vinegar‑soaked cloth for 12 minutes, brushed the nozzles gently, and restored flow without dismantling.
What separated this from DIY attempts? Process discipline. They protected the valve trim with a dry cloth to avoid seepage behind plates, rinsed meticulously, and buffed with a dry towel to eliminate spotting. Costs were minimal: pennies per treatment versus branded descalers at several pounds a bottle. Pro tips worth stealing: label bottles with dilution and surfaces; use chemical‑resistant HDPE sprayers (vinegar can fatigue cheap triggers); and store away from bleach to prevent dangerous cross‑contamination. Finish with prevention: a 20‑second squeegee after each shower slashes limescale build‑up and halves your cleaning time. Over weeks, this routine leaves glass clearer, fixtures brighter, and maintenance visits shorter—proof that consistency beats occasional heroics.
Simplicity is the vinegar spray’s secret: measured acidity, disciplined dwell time, and careful rinsing deliver consistently clean glass and gleaming taps without collateral damage. For UK homes living with chronic hard water, this is a low‑cost, low‑risk habit that outperforms harsher chemicals and elbow‑grease scrubbing. Respect the exceptions—especially natural stone—and you’ll get pro‑grade results with supermarket ingredients. What surface in your home is the toughest limescale challenge right now, and how will you adapt the ratios, dwell times, and safeguards here to tackle it?
Did you like it?4.5/5 (21)